Ingredients:
- Thick Paper
- Soft Colored Paper
- Glue
- Cutting Tools
- Writing Tools
- Candy Bags
- Plain Wood Pegs
- Acrylic Paint and Brushes
Descriptions:
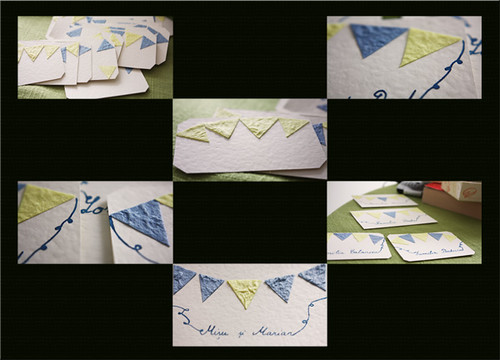
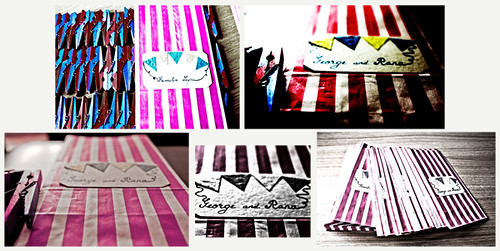
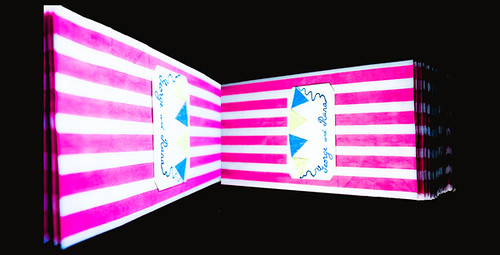
Gift Tags
The story behind making these is similar to all the other things we create. I end up finding or buying random materials and then curiosity takes us through the next steps. The materials for the cards were purchased while I was getting lost in the maze of pretty colored paper sheets in the arts and crafts store. With no aim in mind I still ended up coming home with a bag full of yellow and blue paper and some big pieces of off white thick paper sheets. I am not sure at which point we thought it would be a good idea to make the gift tags for the wedding out of them. But slowly we started cutting the soft paper into neatly measured triangles. It could have been a more tedious job but we put them in multiple layers and with a pencil we drew a long zig-zag chain and in no time we had a box full of colored triangles. Cutting the thicker off white sheet involved measuring and dividing, a pencil and a bit of patience. Once we had those items, then every Skype conversation with my mother also involved gluing the triangles in a bunting on the cards. The writing tools were the same as described in the previous post regarding Wedding Invitations.
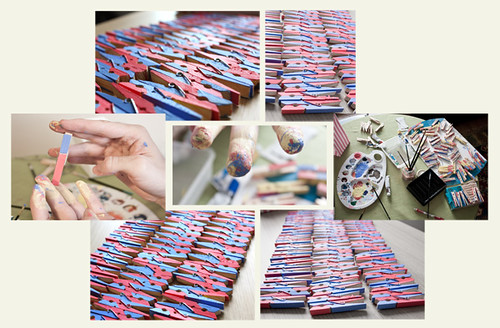
The Pegs
The painting materials were again purchased a while back because they were on sale and I thought: “Uuuu painting colors and brushes I am sure that will come handy”. It did, we bought a plain wooden box in Paris and Chris painted it into a very pretty jewelry box. There will be another post about some other uses of these paints ☺. Initially I was more ambitious and wanted many colors and even to paint a little bunting on the pegs but we decided on the two colors: blue and pink. One to match my wedding shoes and pink to match the candy bag.
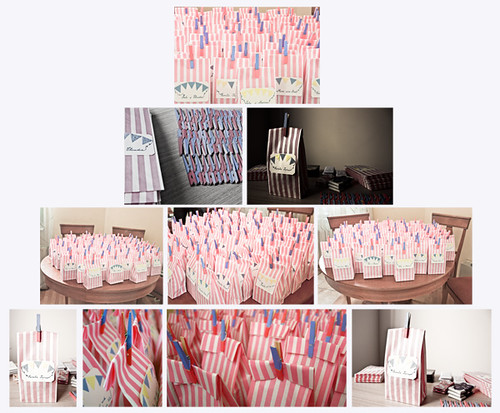
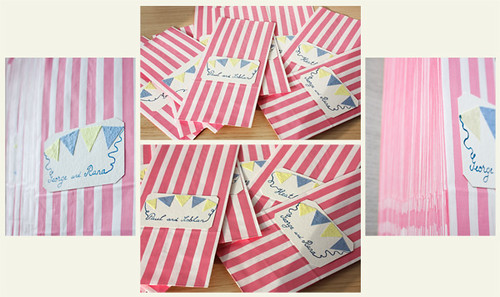
The Bags
We knew what we wanted to put in the gift bags before we bought them. The first try at ordering gift bags was way off. I found ivory paper bags and after I checked that the bottom was wide enough to fit the gifts I happily ordered them. I didn’t check the height and the width of the front of the bag so when I received them I was disappointed to see they were way to big for the tables and they were more suited for proper gifts rather than cute gift favors. We scrapped that and we started looking around for candy type gift bags. This was rooted from our experience last year at The Fat Duck when at the end of the meal we received a goodies bag which was pink and white. We kept looking for something similar and we found them at Pearl and Earl.
Lessons Learned:
The end result of painting (with acrylic colors) will look a bit different dry rather than wet. So wait a day to see the exact shade. We brighten them up the next day for certain batches.
I am still in search of the better cutting techniques and tools that ensure nice smooth straight edges. I currently have some common cutting tools which do the trick but I want better.
Check all the measurements before ordering something online that needs to fit in a specific way.