
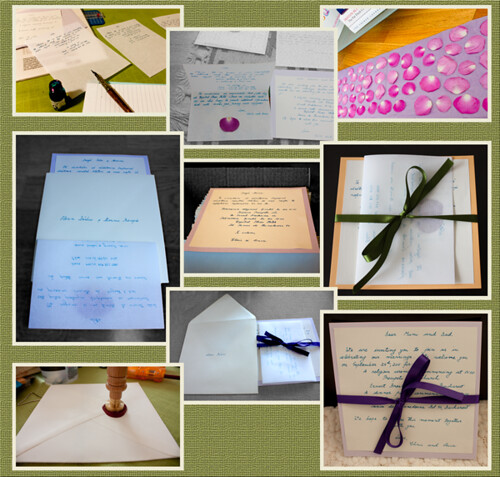
Ingredients:
- Plain Cards
- Paper
- Calligraphy Pen
- Ink
- Pressed Flower Petals
- Glue
- Ribbon
- Envelopes
- Sealing Wax
- Sealing Gun
- Seal
Descriptions:
Plain Cards
The cards we used were 16 x 16 cm in either lilac or light orange. We bought them in Leura, Australia while visiting family. We were in this beautiful stationary store Elizabeth Rosa. It was pouring outside which gave me a good excuse to take my time and look around. It was also the first time I saw bookplates or ex libris. I made a mental note of it and later on they became a preferred gift for book lovers. We bought these cards with the intention to use them for Christmas cards. I didn’t know they would not make it until the end of the year :).
Calligraphy Pen
The Bortoletti pen I used is a beautiful piece of work in itself. I salivated like a child looking at the set in Louvre Museum in November 2009. I didn’t buy it them but later on the special Christmas fairy dropped by so I became a proud owner. Before the wedding invitations, I used it here and there for writing recipes or notes.Depending what type of writing you would like you can choose different nibs.
Pressed Flower Petals
We used rose petals and they were pressed for approximately two weeks. I used heavy cookbooks to put the pressure on them and I aired them every other day to make sure there is no humidity ruining them. It is key for the petals to be dry when you set them up. If there are not then make sure you change the pages you put them in after a few hours of setting them up or the next day if you leave them overnight.
Envelopes
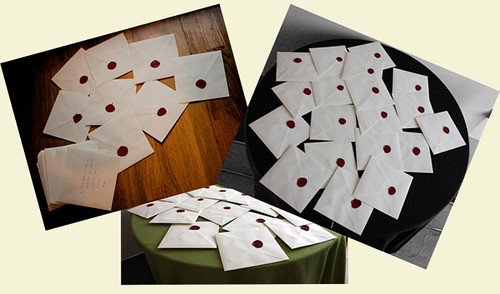
The envelopes were 1 cm bigger than the cards. We approximated that would been enough space to not squish the ribbon and bow around the invitation. The choice of envelopes was cream and it worked very well with the wax.
Seal
This was truly fun to do and as long as you are careful with the heat,then not much can go wrong. Our seal has our initials and it has a 25mm diameter.
The paper
We bought A4 paper and we had to cut it in two sets of sizes. One was half of an A4 page which we used to write the confirmation note and the next set was of 14.5 by 14.5 cm for the invitation itself.
Lessons Learned:
Let the ink dry on the paper before starting to glue them to the card.
The glue to paper ratio needs to be just right. We used PVA craft glue and after you press and roll your hand over the glued surface, I would recommend putting it under heavy cookbooks overnight. This will help spread the glue nice and even and it will dry without leaving marks on the paper.
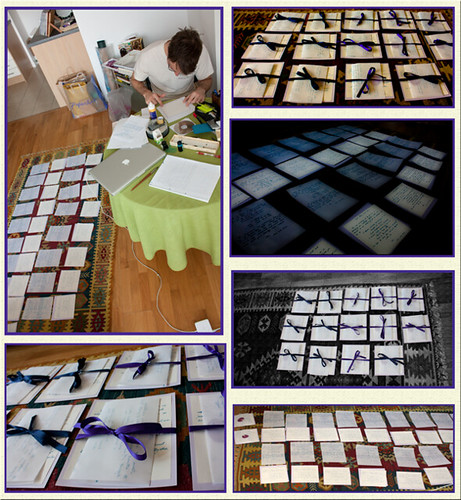
For a large number of invitations the time required to complete them is substantial. Be prepared to divide the workload over a few weeks. I have seen some beautiful invitations to order but I am proud we made our own and that we put in the dedication to do them. Of course even cost wise it will be cheaper. This is not counting the number of hours invested to do it. The materials themselves will bring the cost down.
(I recently took a Photoshop course so when I made these collages I played a bit with filters and various tools.)